
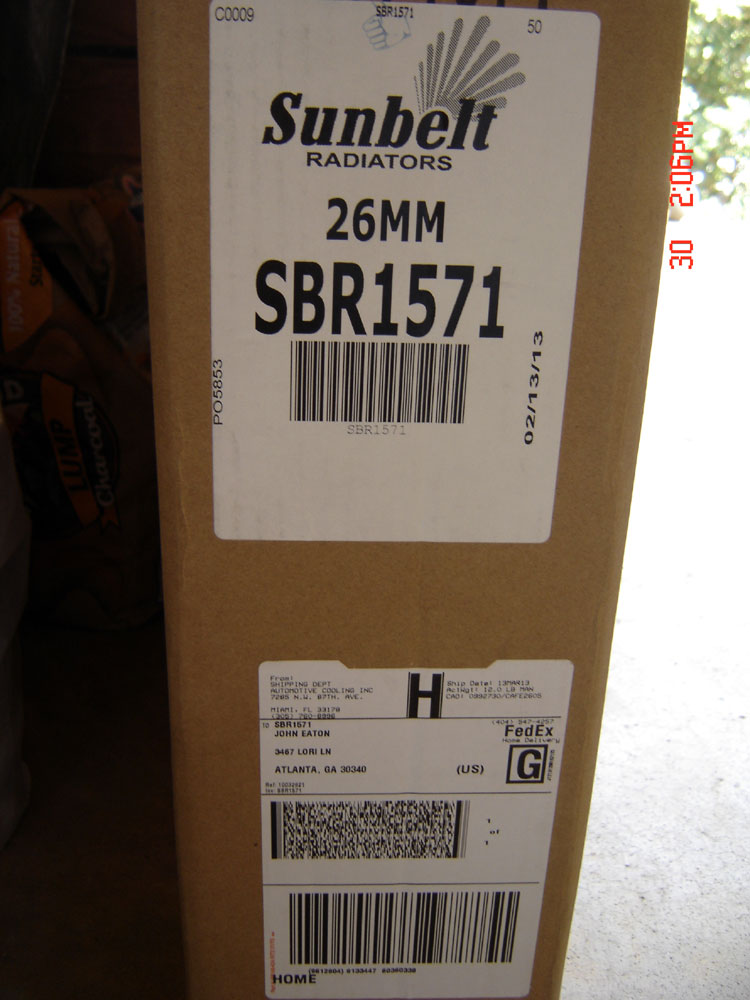
I started calling around and found an after-market radiator for about $300 - this one was in stock so I got to look at it and basically passed as it was cheaply made. I toyed with the idea of getting one of those fabulous all-aluminum radiators custom-made by Ron Davis but wasn't ready to spend the $600 or so plus shipping. Looking around on the VX.info forum I found a post for a $67 radiator from an eBay seller with free shipping - from the photos it looked the same as the one I found locally (even the numbers looked the same - the only difference I found was the distributor name, the eBay was from "Sunbelt Radiators"). I decided to bite the bullet and try out this cheap thing, figuring that if it didn't work I could always get the Ron Davis upgrade. Surprisingly, the radiator was waiting for me on the front stoop 2 days after I ordered.
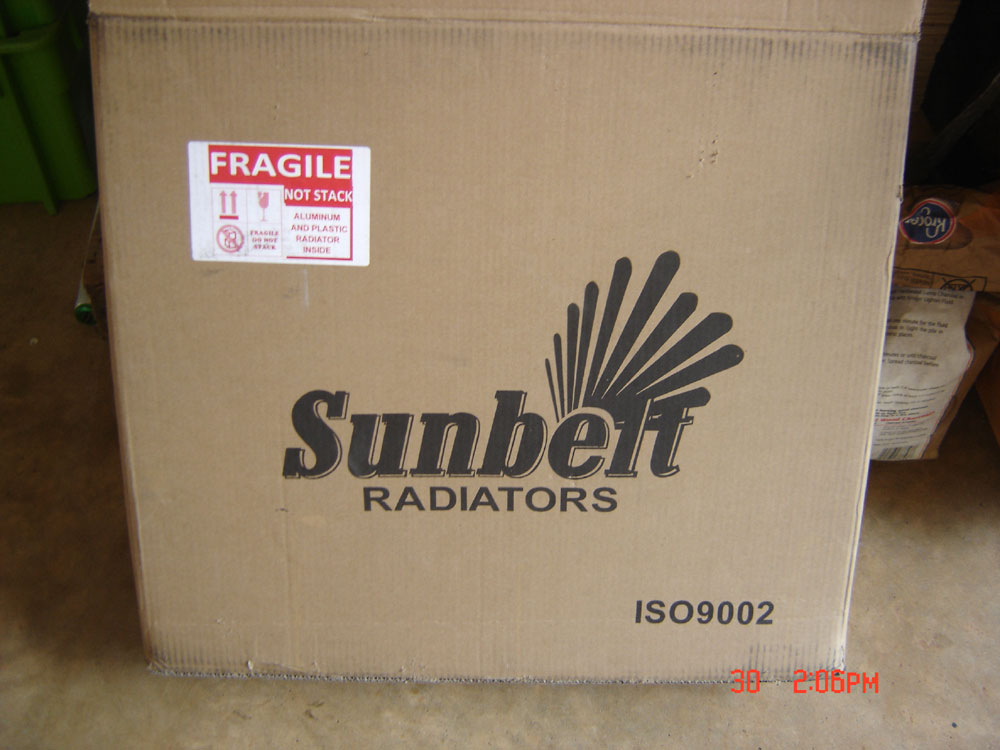

Overall the radiator was well packaged and came in good condition. The plastic at top and bottom appeared to be a little lighter than the Harrison but wasn't flimsy. The whole unit when compared to the original is a bit lighter but that may just be residual liquid adding weight to the old. One identifier is the way the return tube bends down more on the aftermarket (more photos with a side-by-side later). A couple of other things - the after-market is exactly the same size and thickness, however the bottom slots for the fan shroud are shaped differently (they're wider, presumably to be more generic). Also, the stay for the overflow tube at the top is in a slightly different position and the slots for the shroud nuts at the top aren't as tight (the nuts will fall through). I wanted to make sure that this radiator would work before peeling everything apart so I spent some time doing additional research online and after a few weekends felt fairly confident that I could make it work.
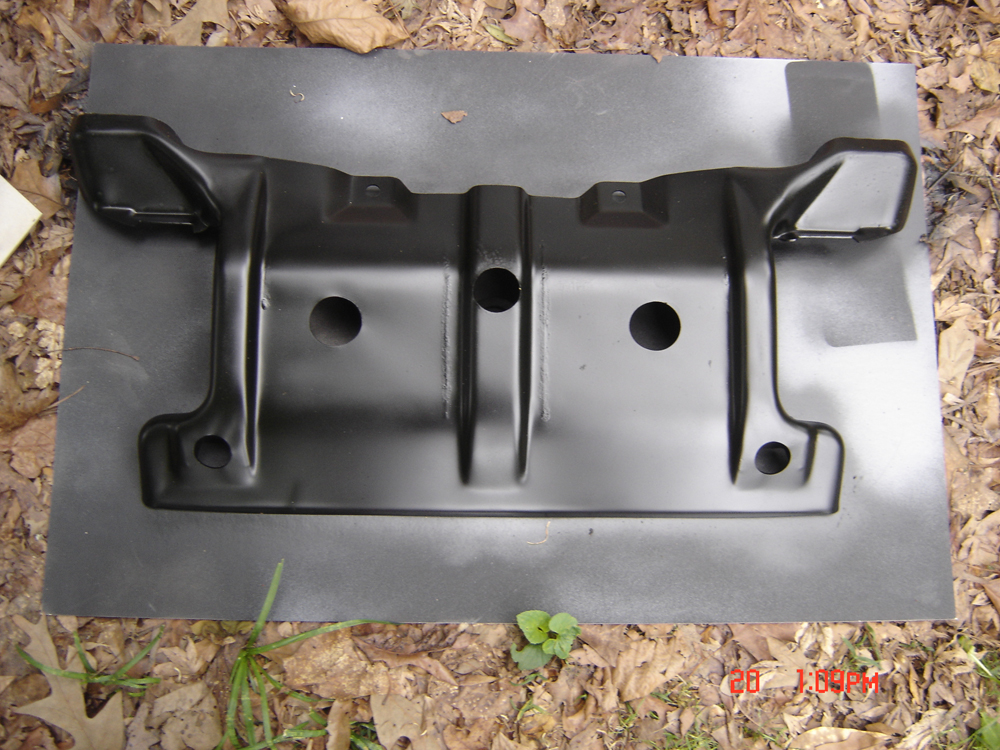
Next, I decided to peel apart the front - this was also to solve an issue I was having with one of my aftermarket fog lights, but also to make it easier to take off the front skid plate (it allows for more room when removed and a bit less mess as the draining radiator doesn't empty into it).
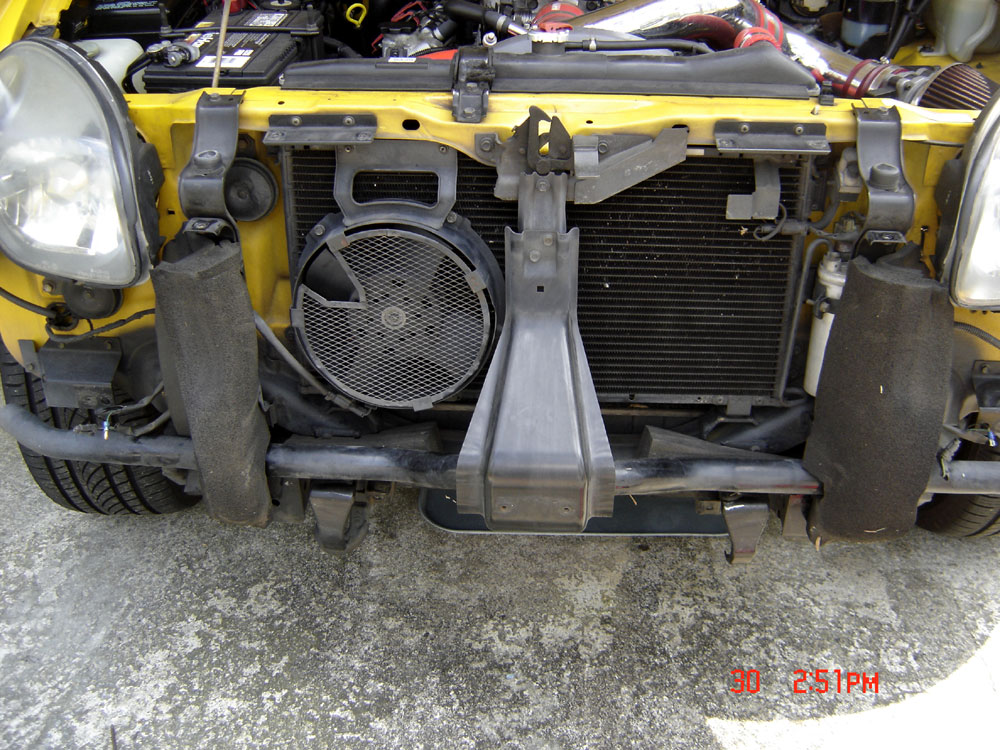

I also spotted a couple of bolts that had backed themselves out - this was on the center bumper support (actually right behind it) and figured they were responsible for one of the rattles I sometimes hear, so I removed the support and tightened the bolts.

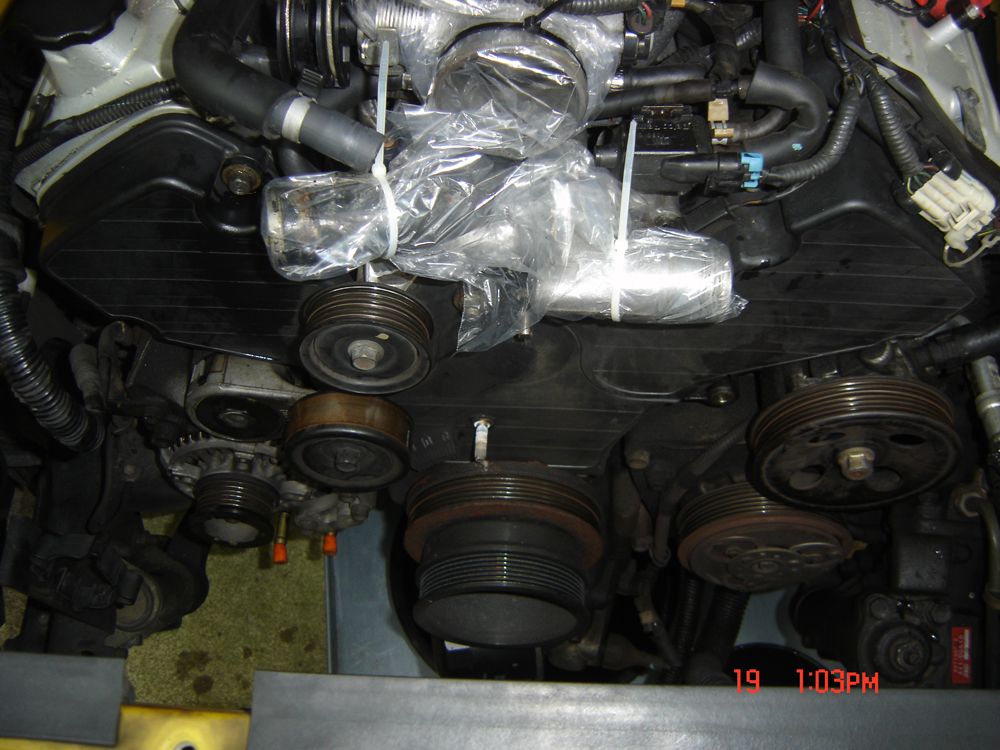
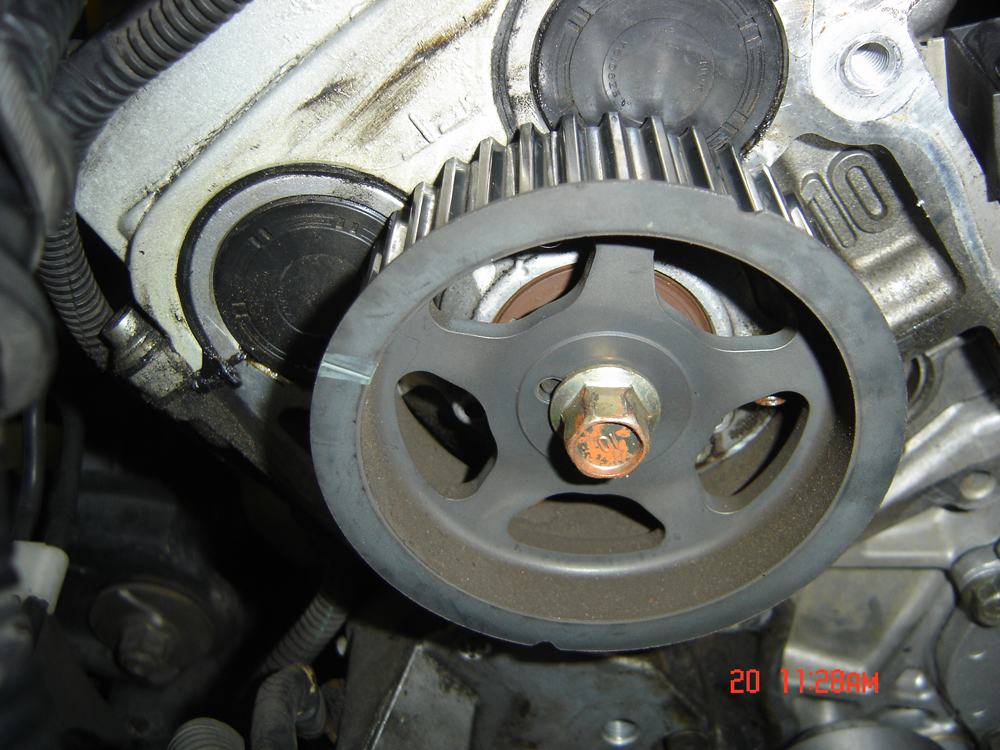
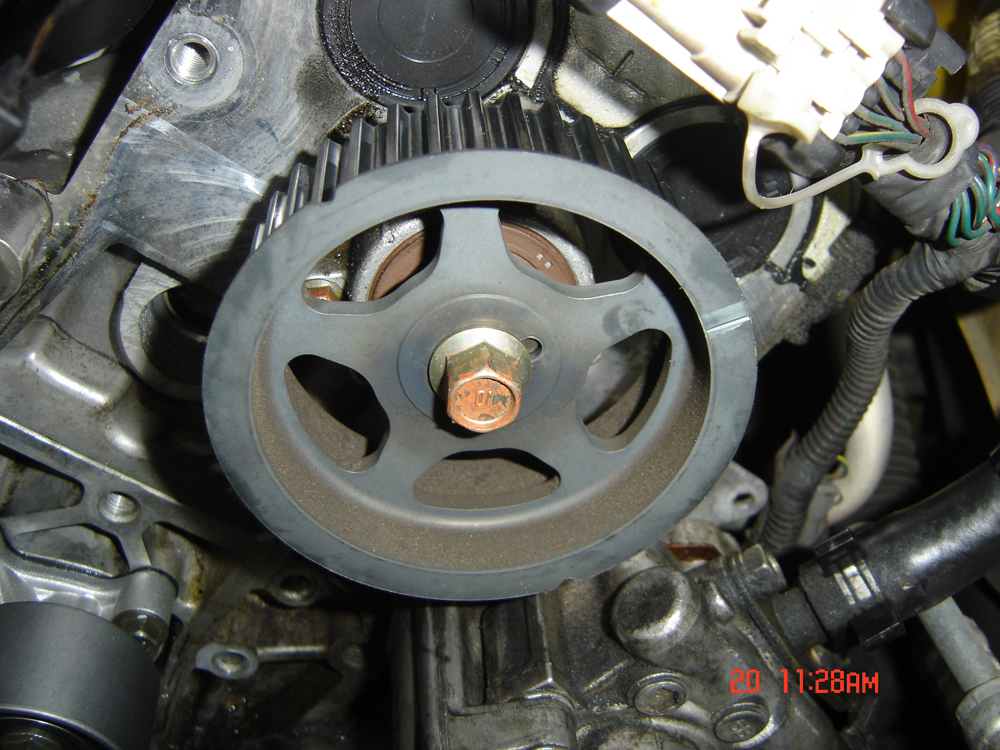
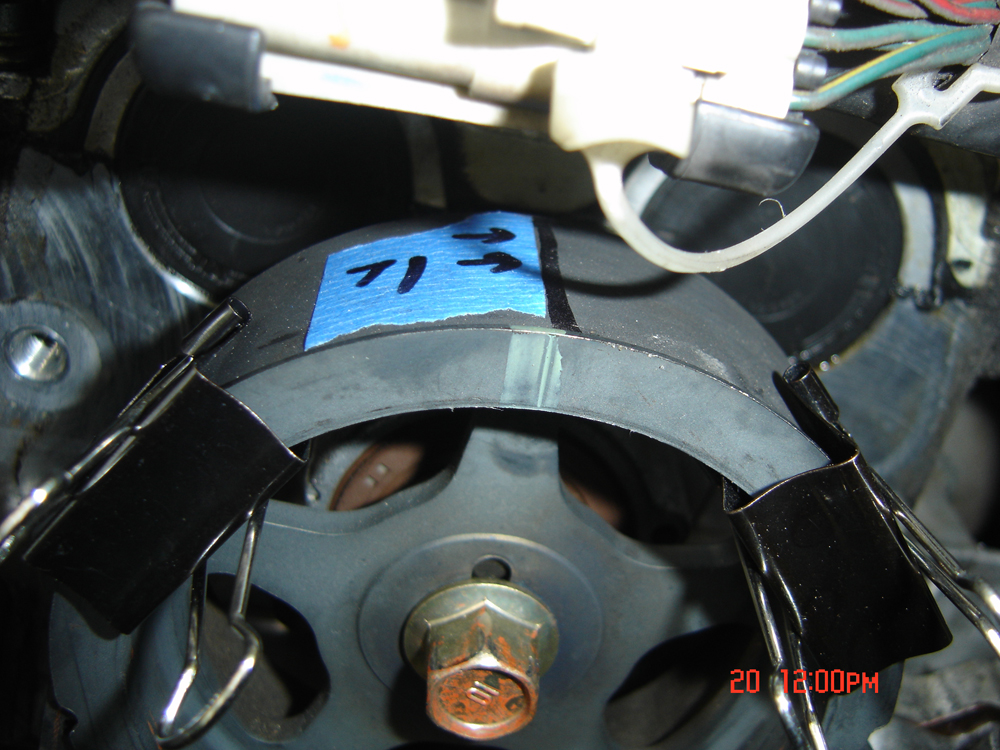
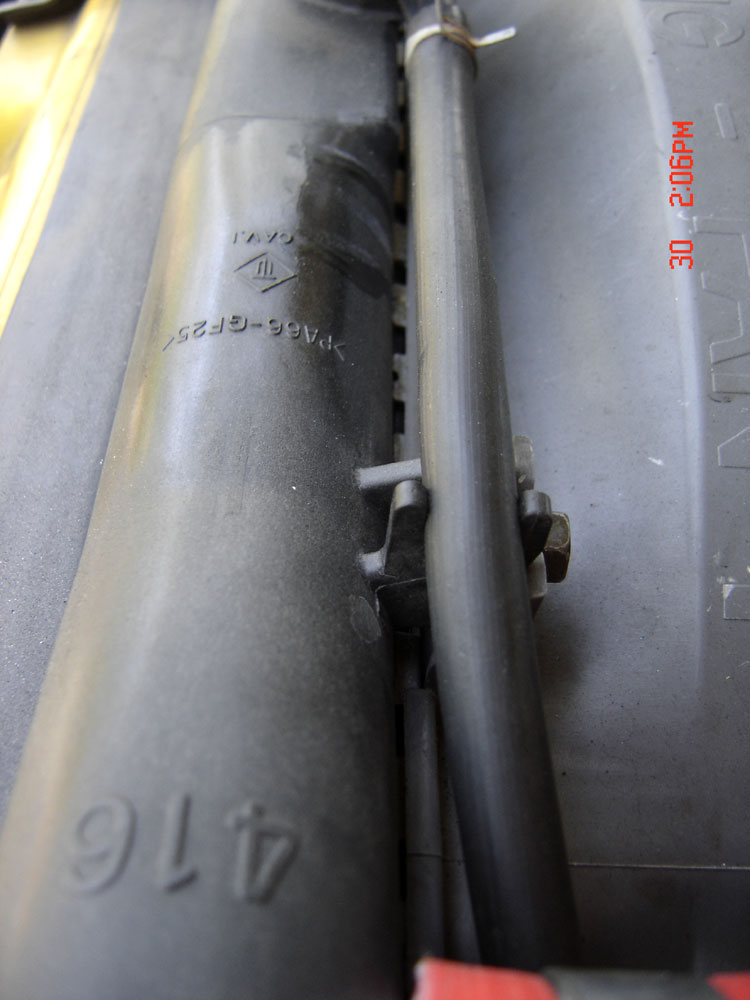
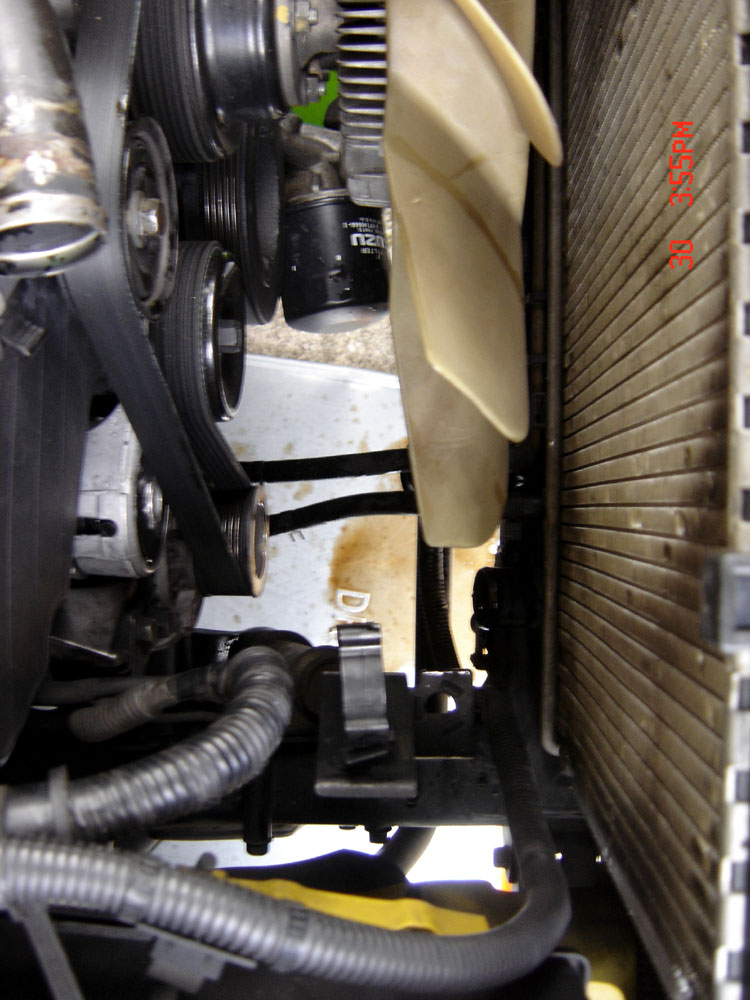
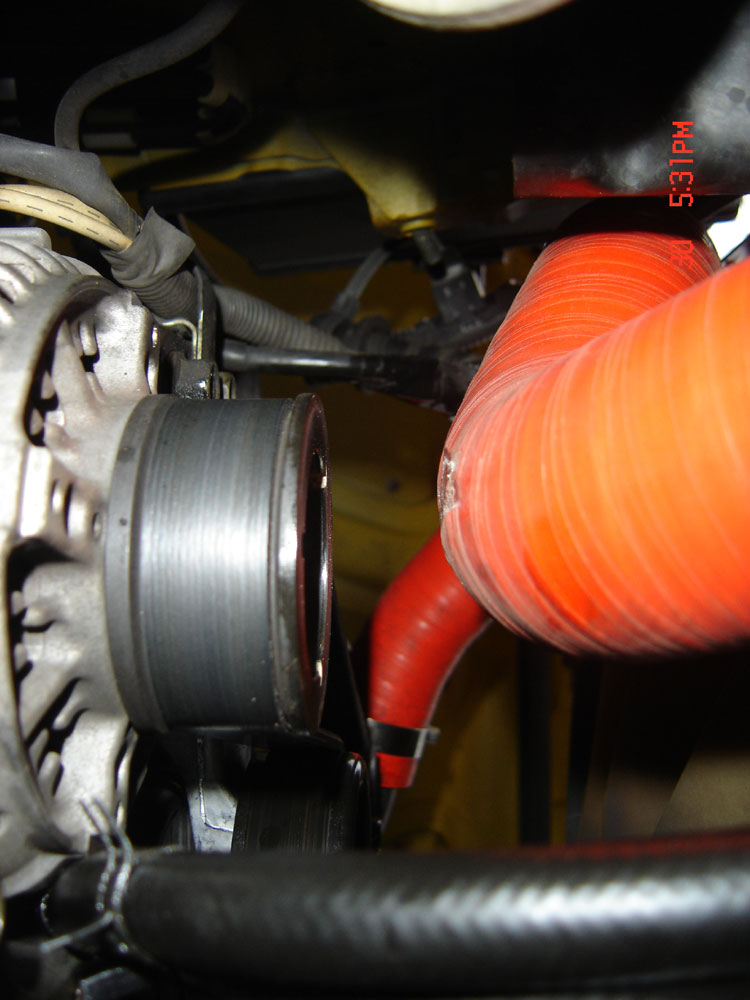
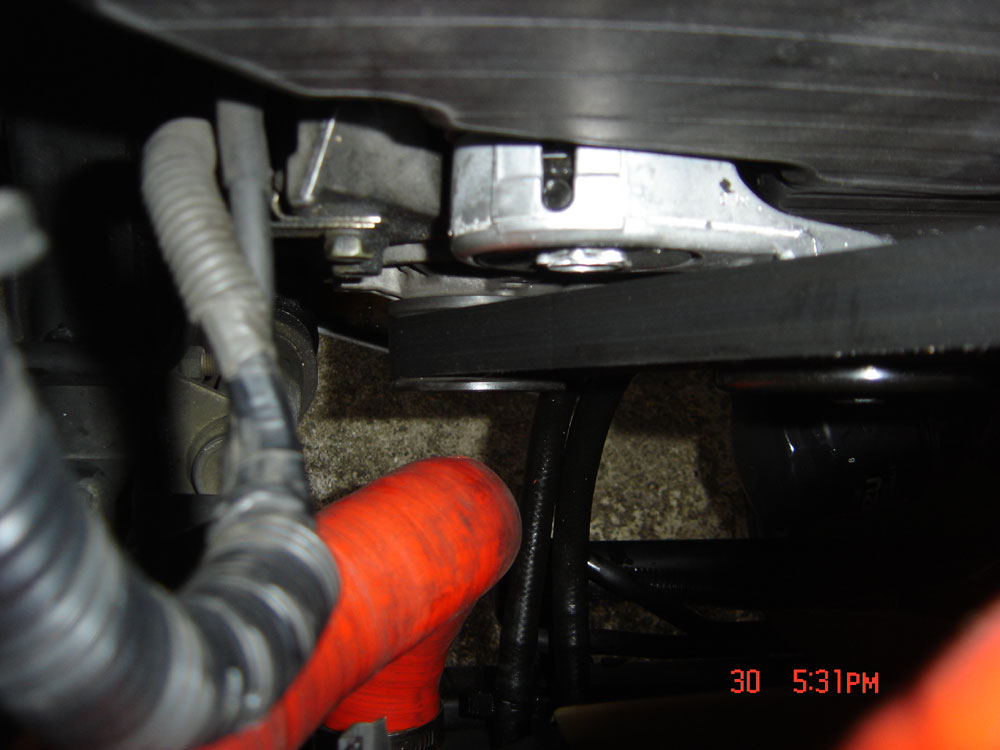
There was one other issue I wanted to address while I had everything apart - those red silicon radiator hoses I installed back when I did the timing belt had an issue - the bottom of the passenger side hose would occasionally swell and flex with heat and rub against the alternator pulley - I wanted to inspect and possibly replace the hose so I had a back-up on hand. Here are some photos of the damage I could see.


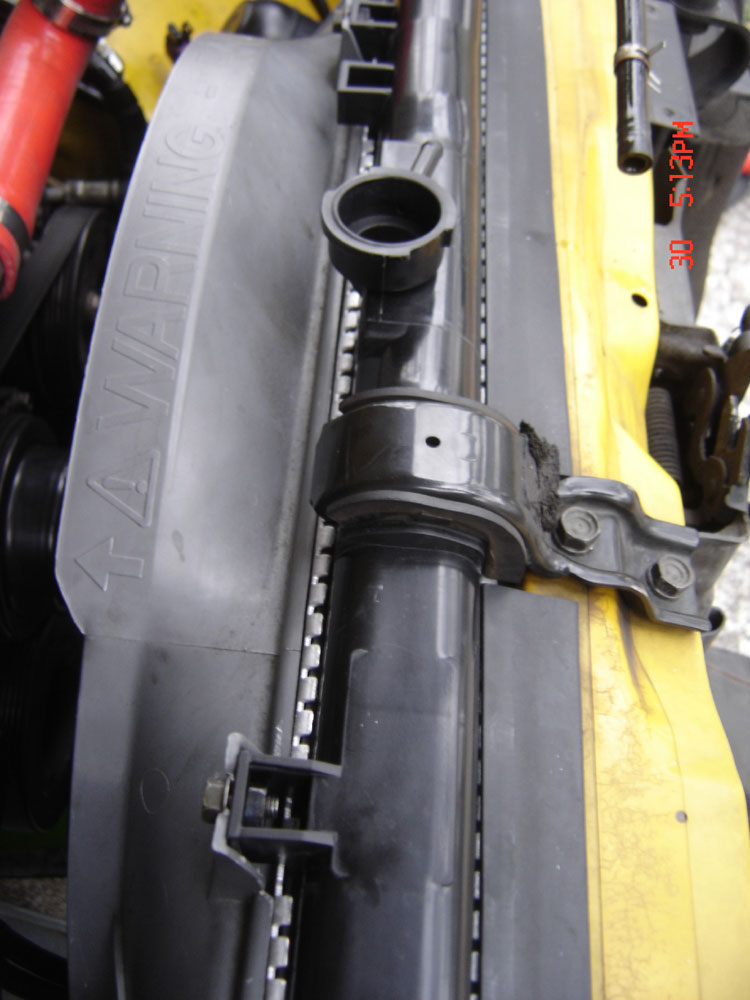
You can see from above that my temporary solution was to zip-tie the hose to the top of the radiator so it wouldn't flex and rub (real bogus engineering there folks).
When you disconnect the tranny cooler lines plug the ends with those squishy, disposable ear plugs - they'll save you from a lot of mess. Here's the original radiator...
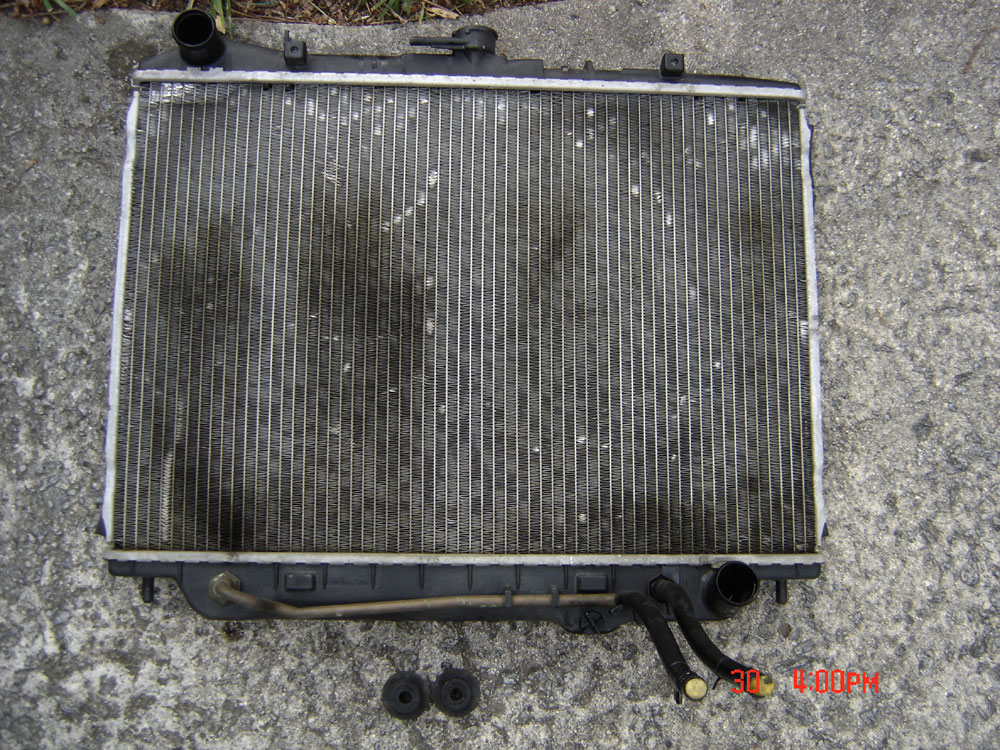
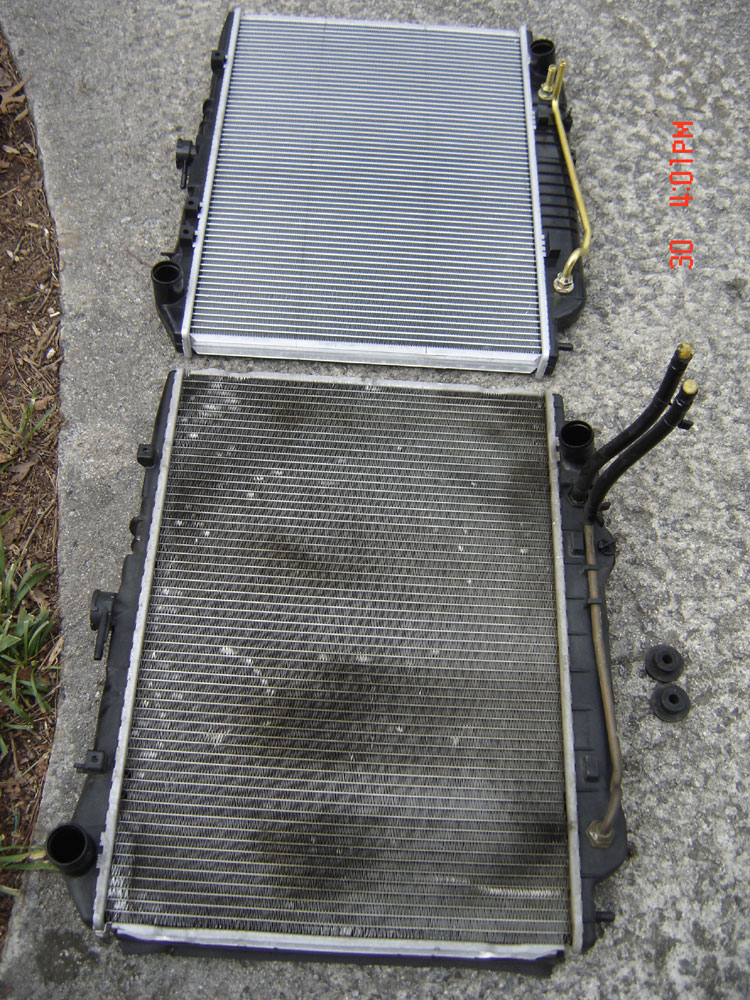
Make sure you keep the two bottom bumpers when you lift the old radiator out - the provide a much needed padding to prevent the radiator from bottoming out on the front frame support. Also, you'll need the radiator cap and the two transmission flexible lines (you can see the earplugs in the ends in the photo above). You'll also need to carefully scrape off the two rubber moldings from the sides and reapply them to the new radiator (they prevent the sides from rubbing in the metal frame). Here's a comparison of the two side-by-side:

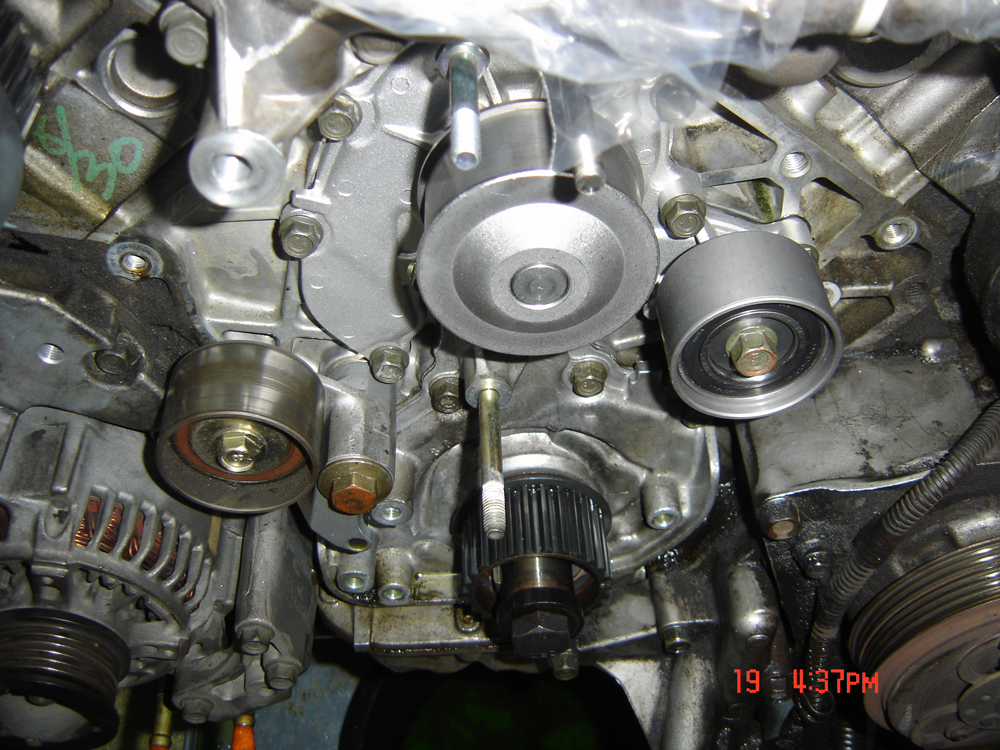
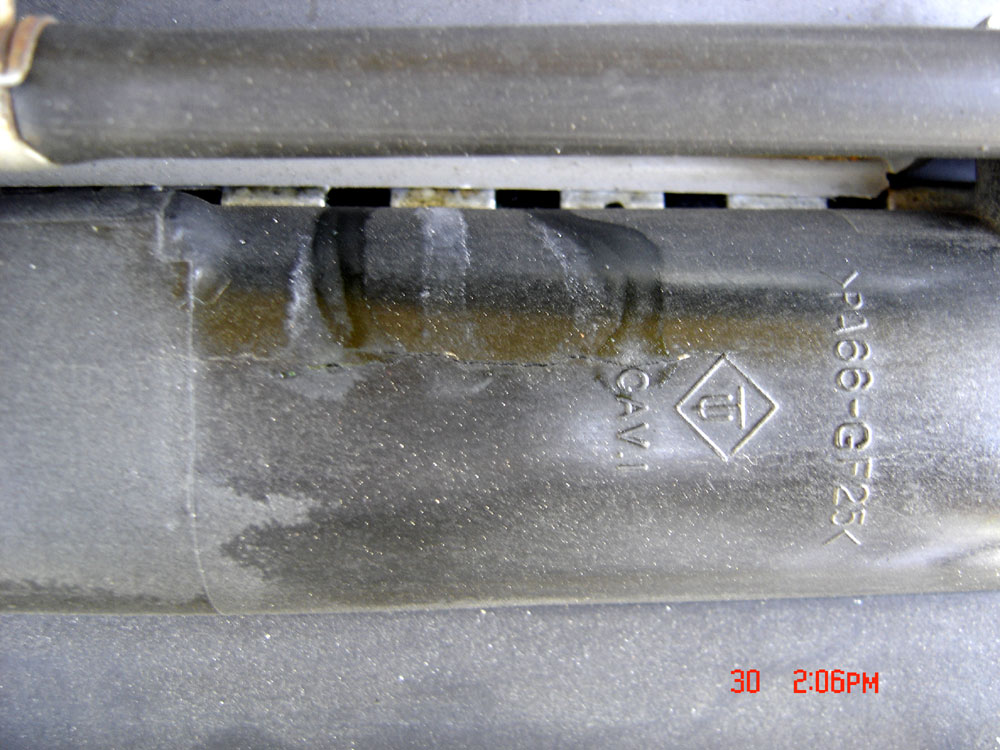
After examining the rubbed hose I determined that there wasn't any softness - the pulley appears to have only worn through 2-4 layers and there was still plenty of silicon in the hose wall.

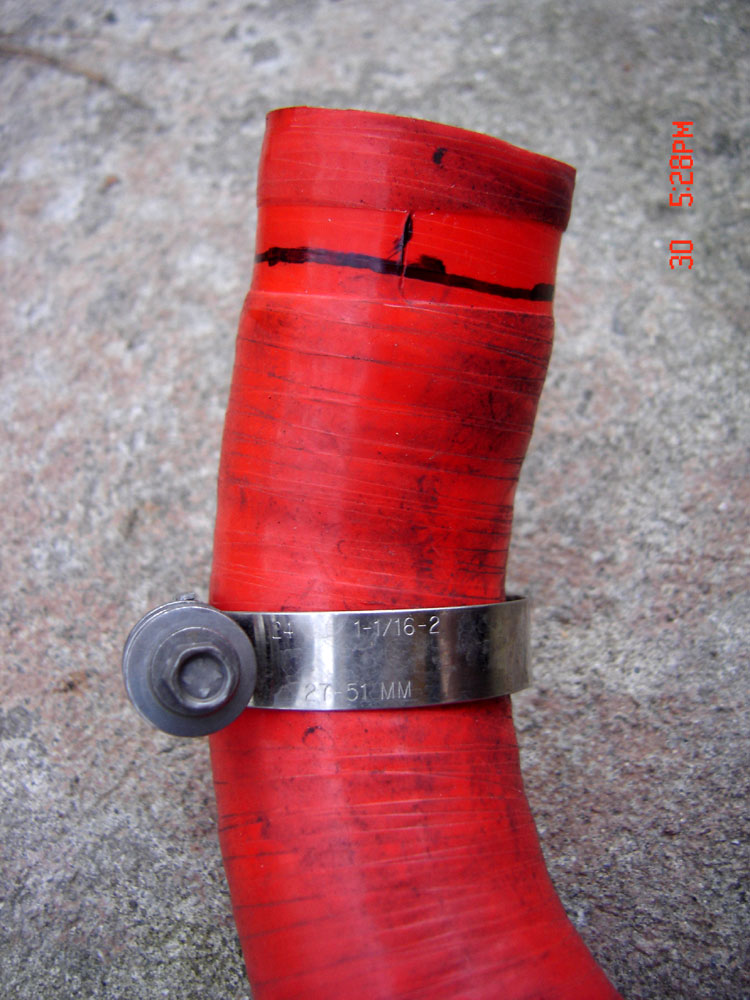
I decided to re-use what I had - I've been trying to get a replacement but haven't met with any success, even when offering to pay for the hose. The other problem was the culprit of the hose running - I determined that the hose was a bit over an inch too long.


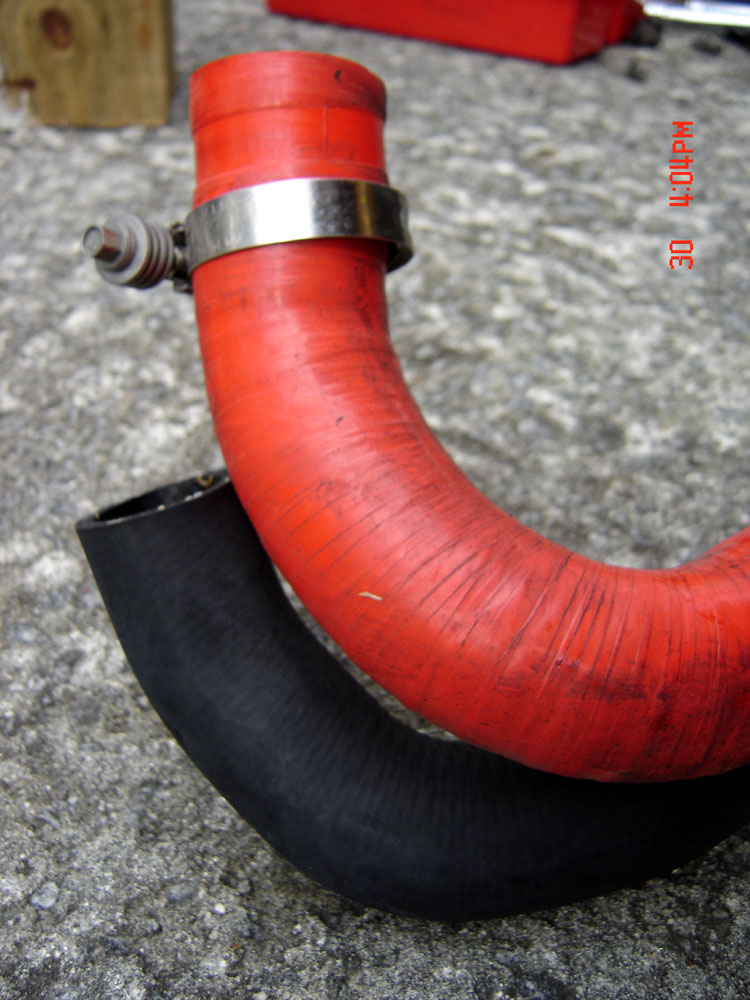
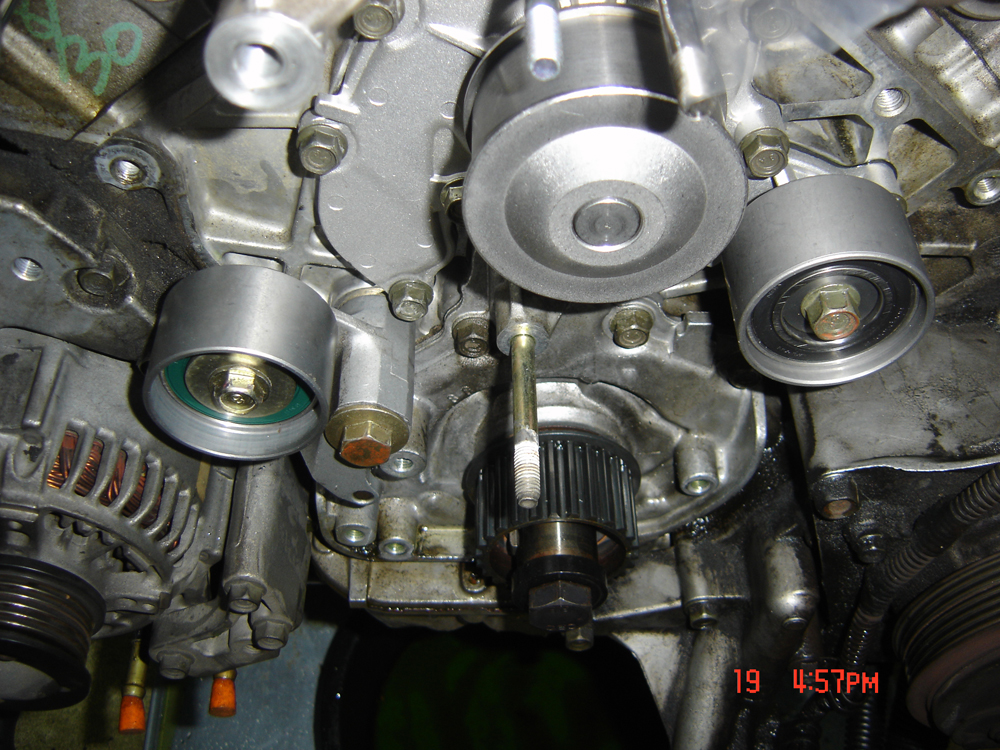
I carefully marked the excess and cut off with a razor knife...in retrospect I wish I had done this comparison when I did my timing belt - live and learn I guess.
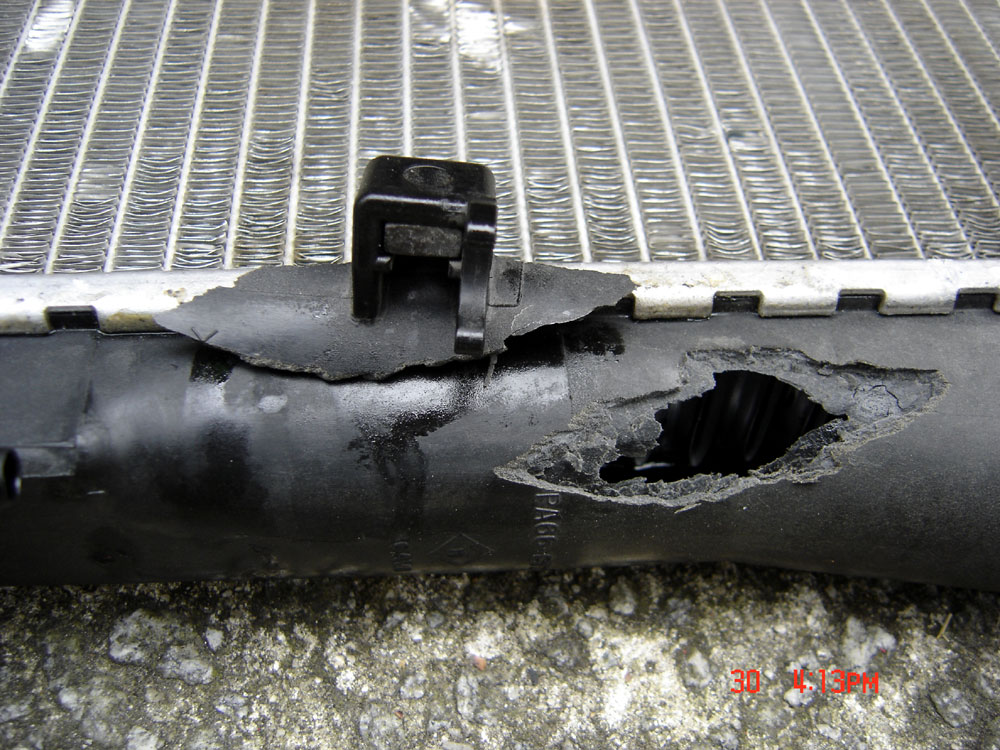
When trying to pry out one of the retaining nuts for the fan shroud at the top a whole chunk of radiator broke off. This stuff is extremely brittle - looks like recycled plastic to me and deserves more of an inspection (recommend you do occasionally if you still have the original).
After reapplying the side rubber moldings I placed the new radiator in its new home. I used some double-stick tape I got at Harbor Freight, the 3/4 inch wide stuff, placing it on one side then razor-ing off half which can be applied to the other side. This stuff works pretty well.

The top bracket was a little "loosie-goosie" so I put a thin piece of foam padding under between it and the rubber pad. One trick to getting the nut on those bolts is pull the shroud away from the radiator, insert a nut with your finger under the bracket (so it doesn't fall through), thread the bolt loosely then flex the shroud under the loose nut on both sides. Then tighten as usual.
The two halves of the fan shroud were also loose so I added a self-tap screw on each side to maintain it's shape. I'll replace these with stainless screws at some point but these will work for now.

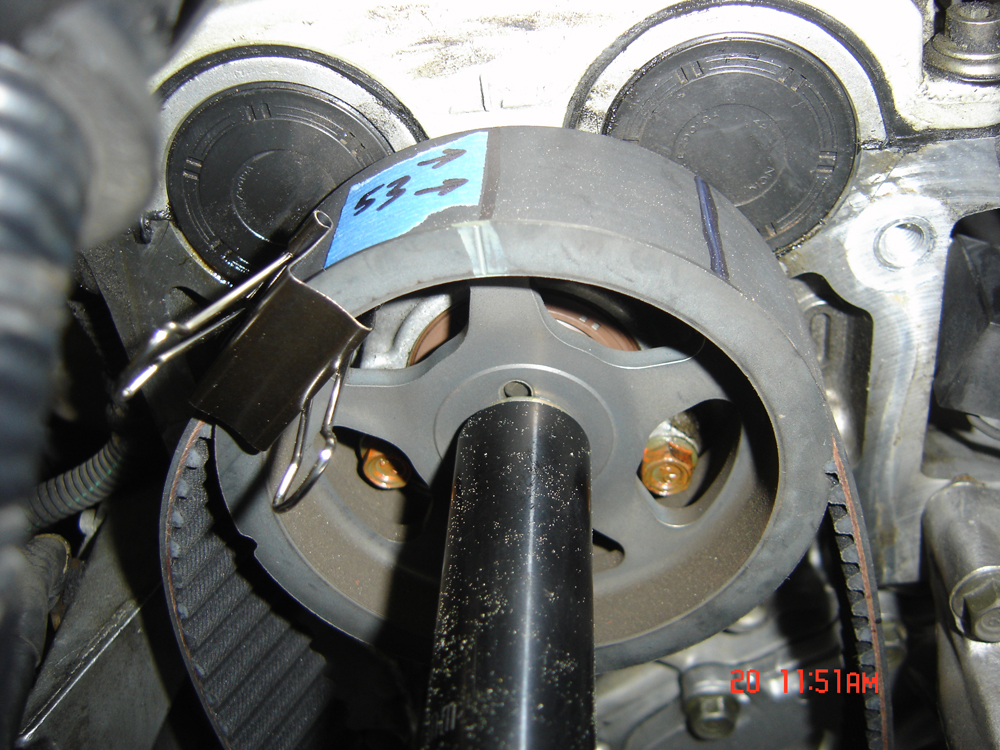
This is what it looked like with the hose shortened and installed...much improved from the previous install.
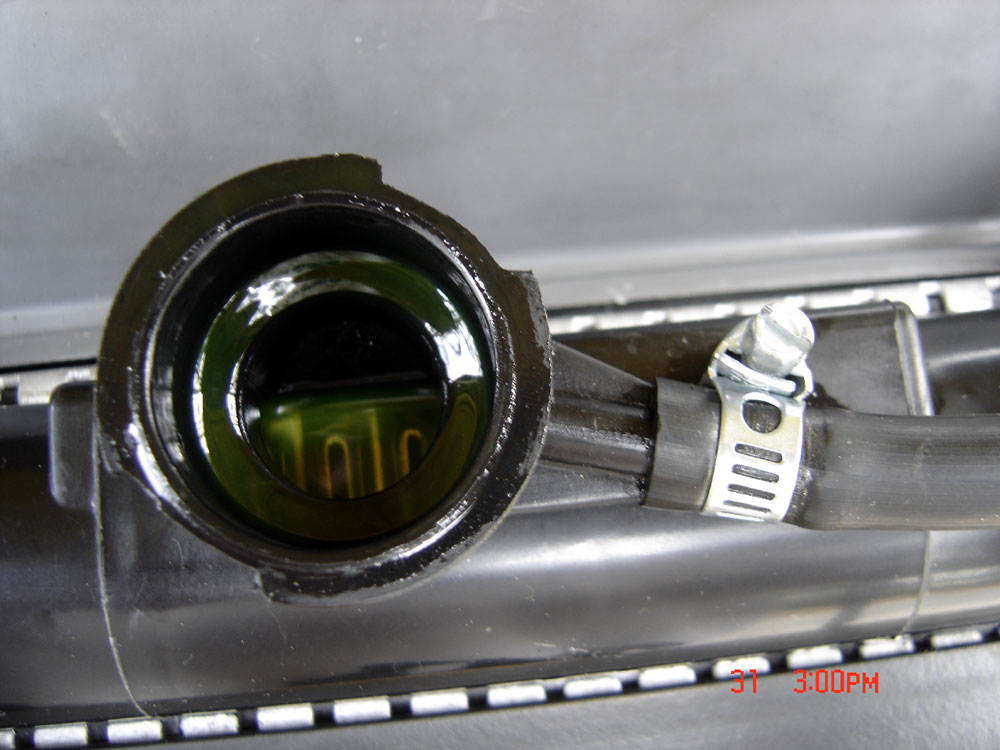
After putting the motor and all the lines back together I fired her up and waited for leaks - it didn't take long to spot leaks coming from both tranny cooling lines. At this point it started to get dark (that was Saturday March 30) so I called it a day. In the morning I inspected the leaking areas - seems the diameter of the tubing is slightly smaller than the hoses - also, the plastic overflow tube was loose, so I added some 3/8 inch diameter hose clamps....

I continued pouring in coolant and massaging the top hose until all the air was out of it and basically waited for the coolant to expand, all the while looking for leaks. It all looked good. I killed the engine, checked everything again and then shot this video.
Afterward it was a matter of re-filling the transmission with fluid (quite a messy job), securing the hose with an extra thick zip tie (need to order the proper hose retaining clip) and completing the assembly of the front - I did manage to find the short in my fog lamp and fixed it too. The whole job took about 6 hours on Saturday and another 6 hours on Sunday, so it may have been worth having it done instead of doing it yourself. I guess it depends on whether you like doing this stuff or not.
-- John